
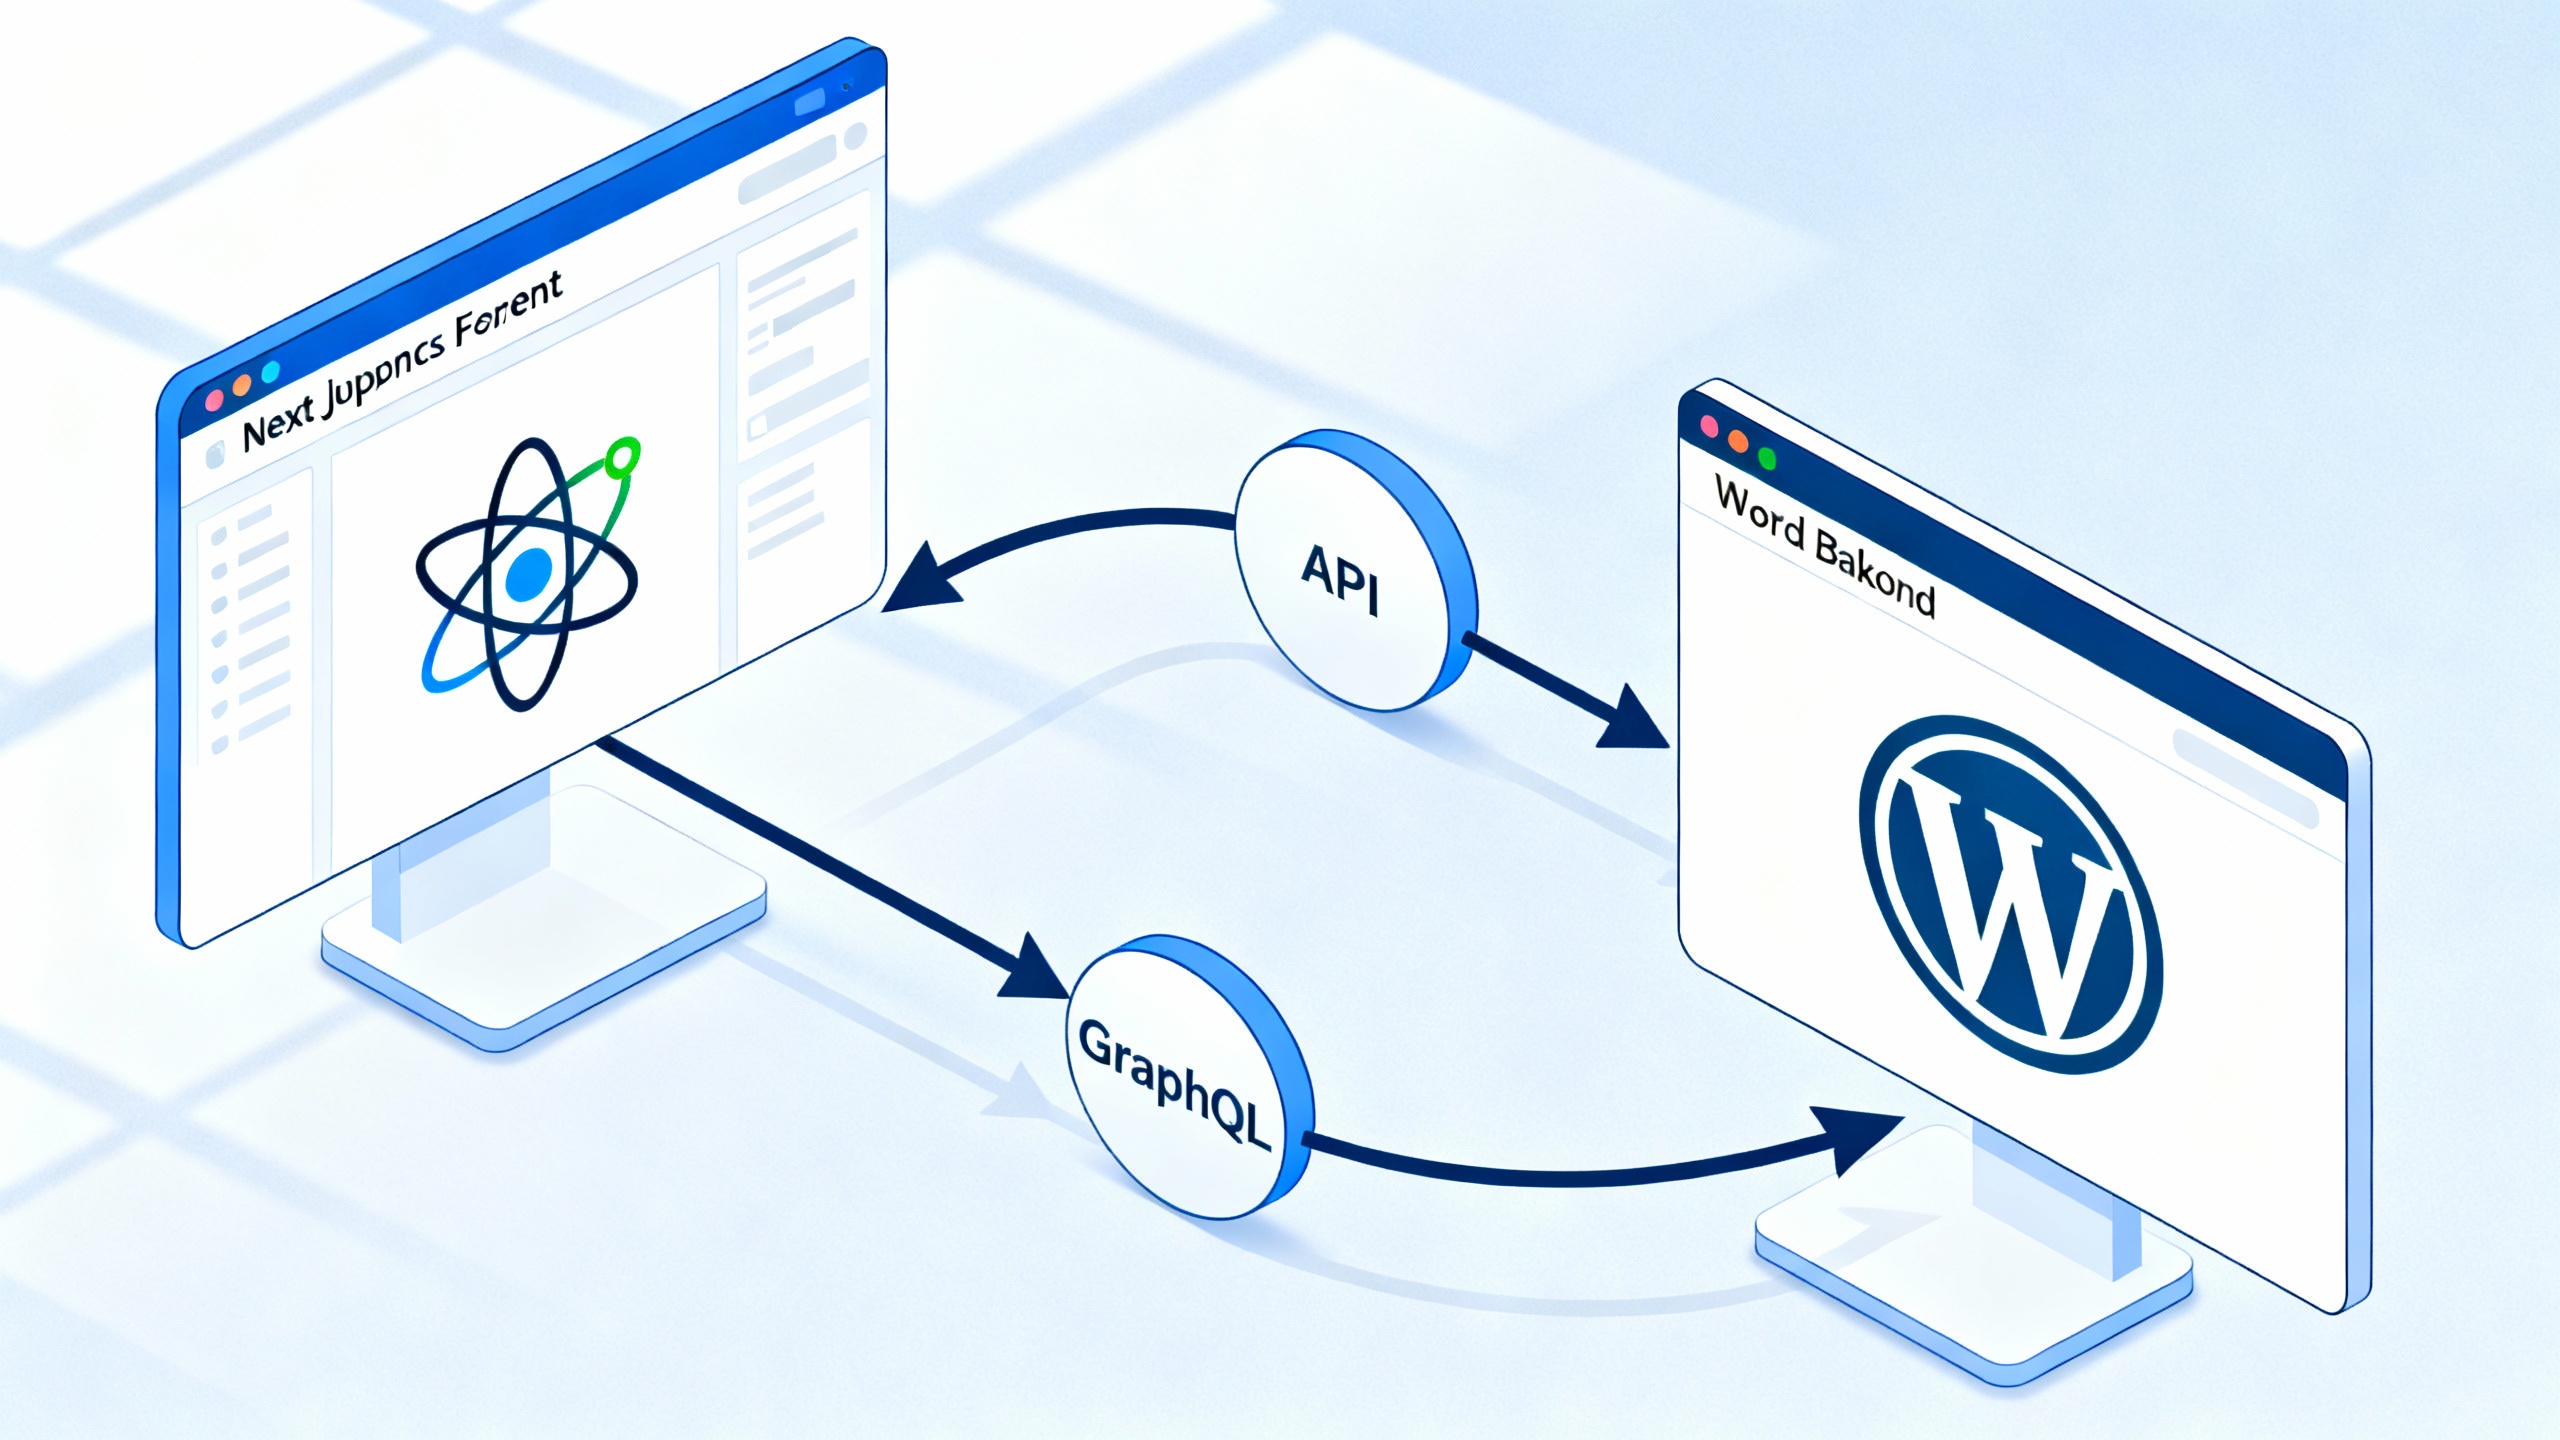
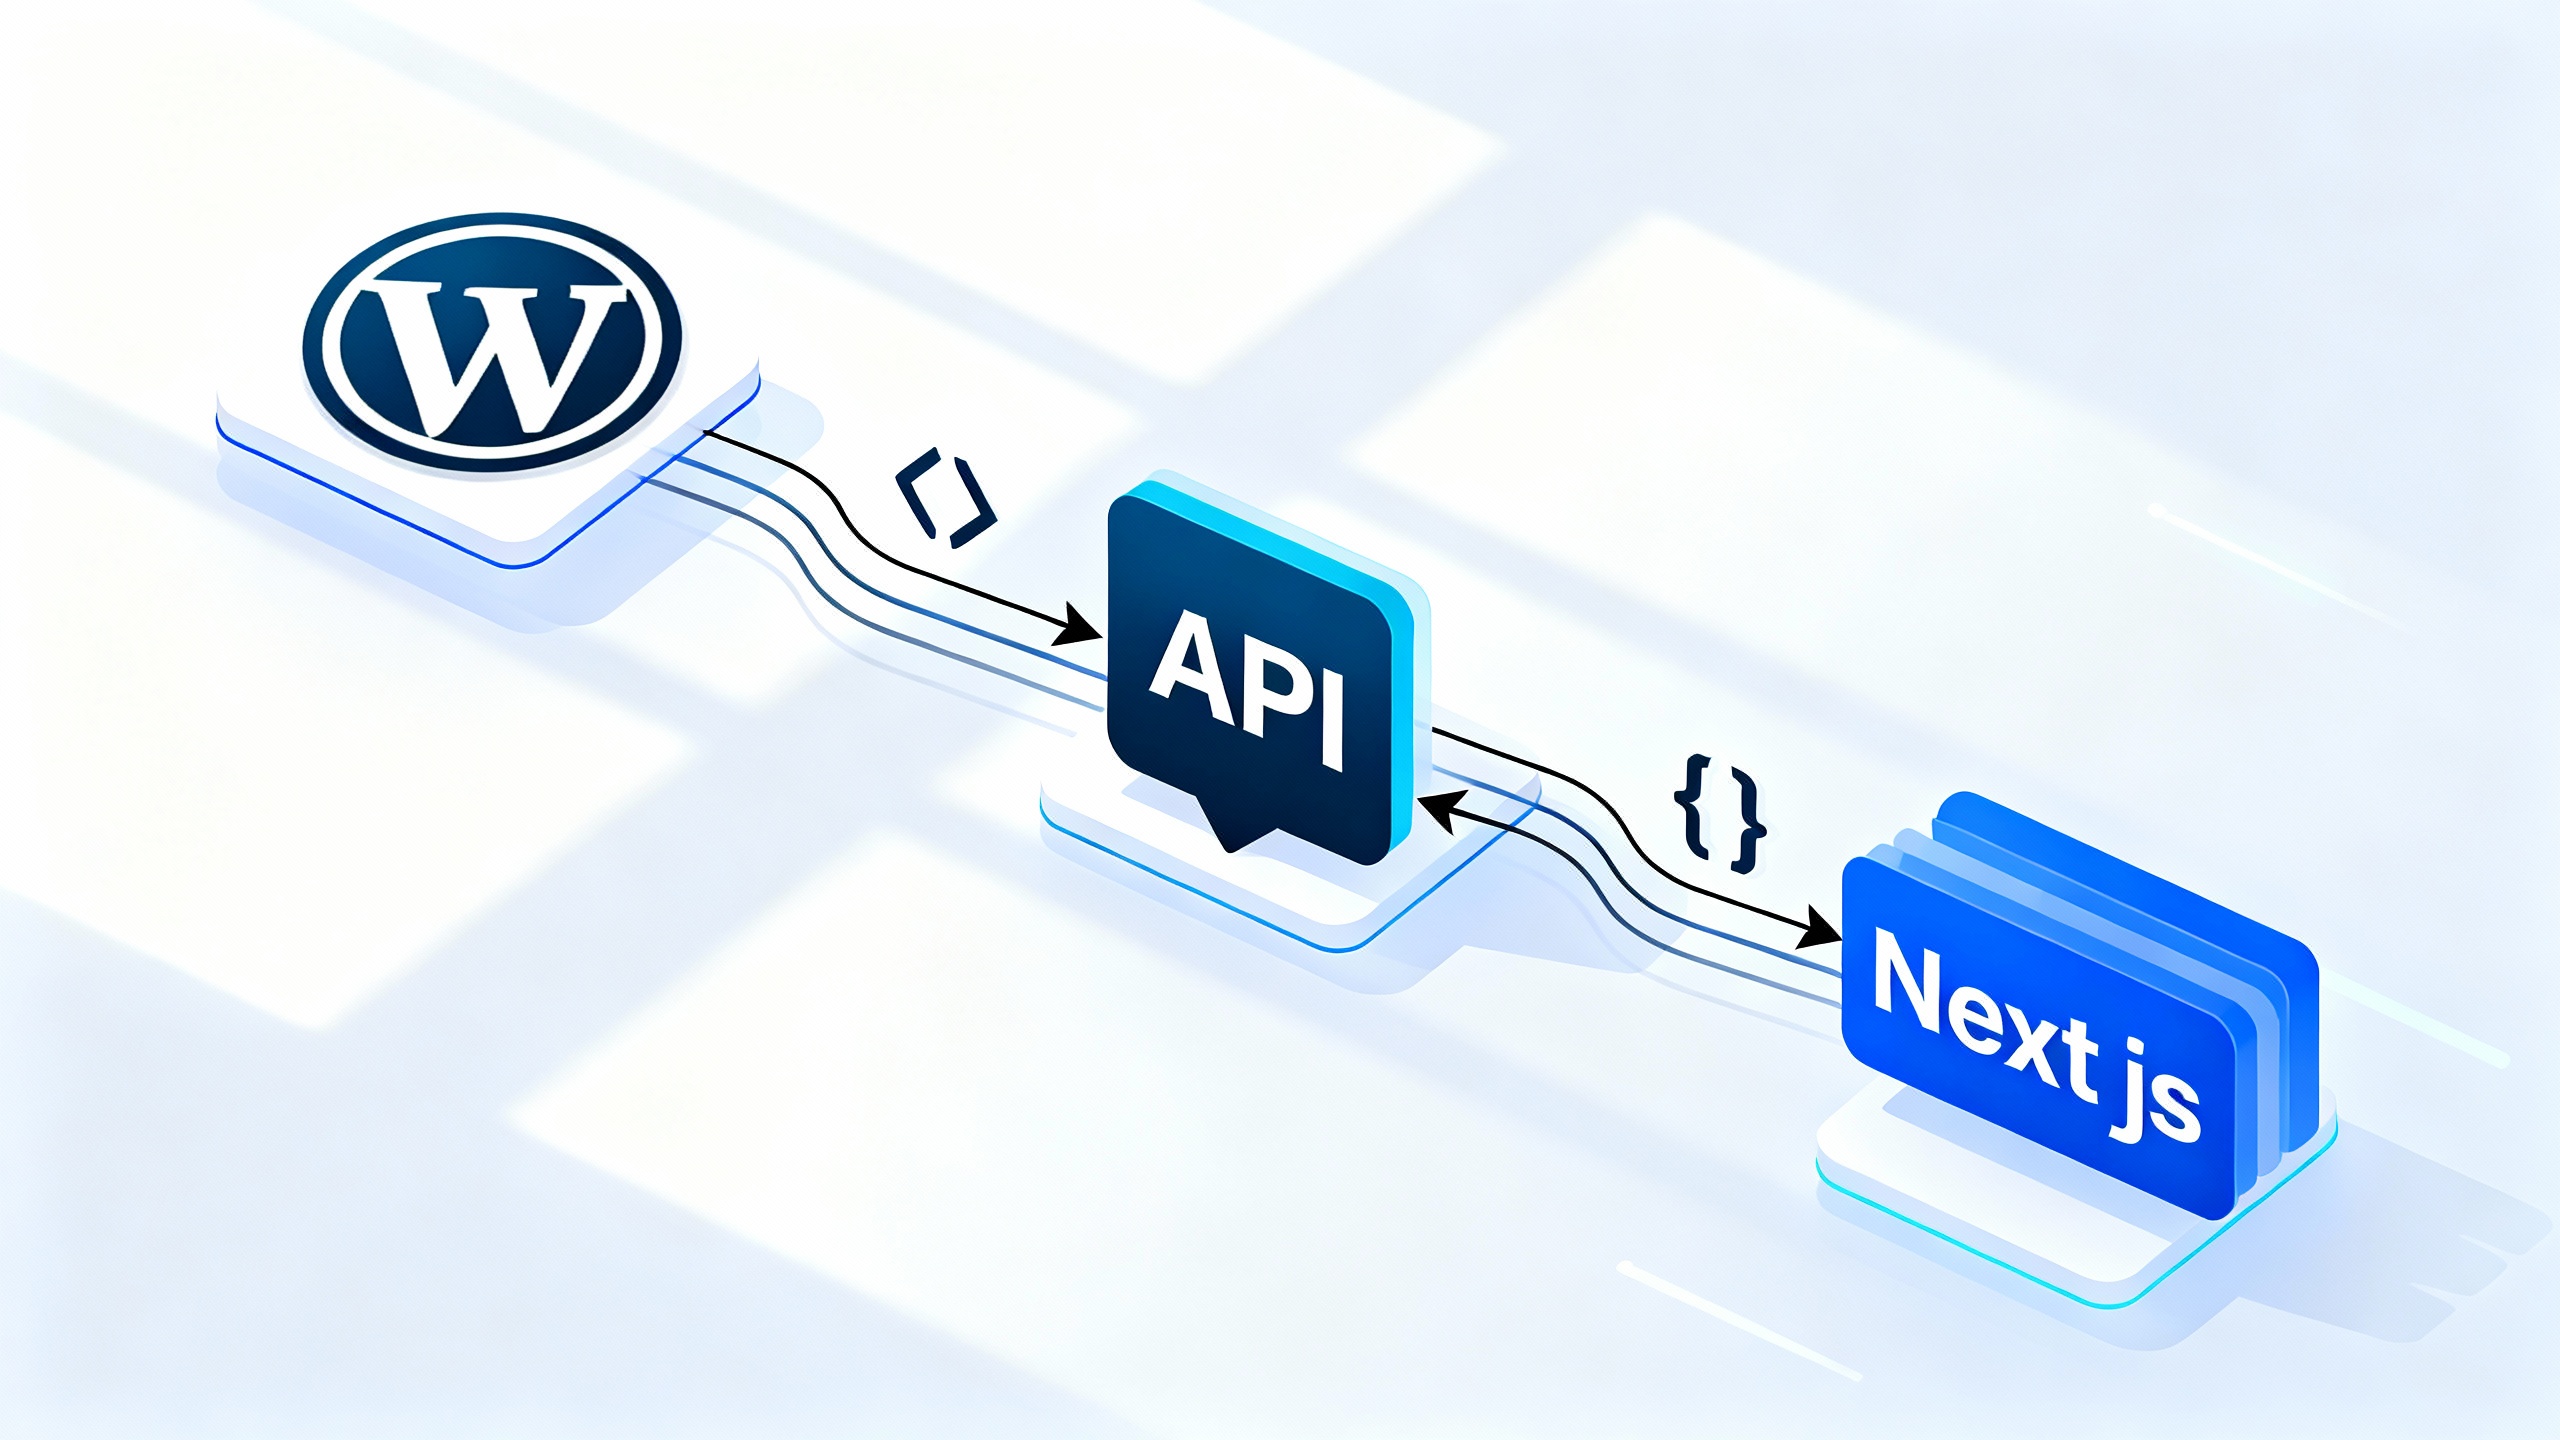
WordPress powers over 43% of all websites, but its traditional monolithic architecture doesn’t always align with modern development needs. Headless WordPress decouples the content management backend from the presentation layer, letting you use WordPress for what it does best, content management, while Next.js handles the frontend with React’s power and performance.
This approach delivers faster page loads, better SEO, enhanced security, and complete design freedom. You keep WordPress’s familiar interface for content editors while building lightning-fast, modern web experiences with Next.js.
REST API vs WPGraphQL: Choosing the Right Data Layer

WordPress offers two primary methods for fetching content in a headless setup: the built-in REST API and WPGraphQL (via plugin). Your choice impacts development speed, performance, and maintenance.
WordPress REST API
The REST API comes built into WordPress core since version 4.7. It exposes content through standardized endpoints like /wp-json/wp/v2/posts and /wp-json/wp/v2/pages. Each endpoint returns JSON data that Next.js can consume directly.
Best for: Simple blogs, portfolios, and projects with straightforward content structures. If you’re fetching posts, pages, and basic custom fields without complex relationships, REST API requires zero plugin installation.
Limitations: Over-fetching data is common, you get entire post objects when you might only need titles and slugs. Fetching related content (like post author details, featured images, and categories) requires multiple API calls, creating performance bottlenecks.
WPGraphQL
WPGraphQL is a free plugin that adds a GraphQL API to WordPress. GraphQL lets you request exactly the fields you need in a single query, even across related content types.
Best for: Complex sites with custom post types, taxonomies, ACF fields, and content relationships. E-commerce sites, membership platforms, and multi-author publications benefit from GraphQL’s precision and efficiency.
Advantages: Request precisely what you need, fetch nested relationships in one query, and enjoy better TypeScript integration with code generation tools. The learning curve pays off quickly on medium to large projects.
| Feature | REST API | WPGraphQL |
|---|---|---|
| Setup Complexity | None (built-in) | Plugin installation required |
| Learning Curve | Shallow | Moderate |
| Data Fetching | Fixed endpoints, often over-fetches | Request exactly what you need |
| Related Content | Multiple requests | Single nested query |
| Performance | Good for simple needs | Superior for complex data |
| Community Support | Extensive | Growing rapidly |
For most developers starting out, begin with REST API for proof of concept, then migrate to WPGraphQL when content complexity demands it.
Setting Up WordPress for Headless Use
Your WordPress instance needs minimal configuration to function as a headless CMS. Start with a fresh WordPress installation or use an existing site.
Enabling the REST API
The REST API is active by default. Test it by visiting https://yoursite.com/wp-json/wp/v2/posts in your browser. You should see JSON data containing your posts.
For authentication and enhanced security, install the Application Passwords feature (built into WordPress 5.6+). Navigate to Users → Profile and scroll to Application Passwords to generate tokens for authenticated requests.
Installing WPGraphQL
Install WPGraphQL from the WordPress plugin directory. Go to Plugins → Add New, search for “WPGraphQL,” and activate it. The GraphQL endpoint becomes available at /graphql.
Access the GraphiQL IDE at /wp-admin/admin.php?page=graphiql-ide to test queries directly in WordPress. This interface shows your schema and lets you build queries interactively.
Essential Plugins for Headless WordPress
WPGraphQL for Advanced Custom Fields: If you use ACF for custom fields, this plugin exposes those fields to your GraphQL schema automatically. Install both ACF and this extension.
Custom Post Type UI: Register custom post types through a user interface rather than code. Ensure you check “Show in REST API” and “Show in GraphQL” when creating custom post types.
Headless Mode: This optional plugin disables the WordPress frontend entirely, preventing duplicate content issues and improving security by closing off theme-based access.
Configure CORS settings if your Next.js development server runs on a different domain. Add this to your wp-config.php:
header('Access-Control-Allow-Origin: *');
header('Access-Control-Allow-Methods: GET, POST, OPTIONS');
For production, restrict the origin to your specific Next.js domain instead of using the wildcard.
Next.js Environment Setup and Basic Data Fetching
Next.js 13+ introduced the App Router, which changes how you fetch data and handle routing. This guide focuses on the modern App Router approach, though Pages Router concepts translate easily.
Creating Your Next.js Project
Initialize a new Next.js project with TypeScript support:
npx create-next-app@latest my-headless-site
cd my-headless-site
Select App Router when prompted. Install data fetching dependencies:
npm install graphql-request graphqlFor REST API fetching, the native fetch API works perfectly, no additional libraries needed.
Fetching Posts with REST API
Create a utility file at lib/wordpress.js:
const WP_API_URL = process.env.NEXT_PUBLIC_WP_API_URL;

export async function getPosts() {
  const response = await fetch(`${WP_API_URL}/wp-json/wp/v2/posts?_embed`);
  const posts = await response.json();
  return posts;
}

export async function getPostBySlug(slug) {
  const response = await fetch(
    `${WP_API_URL}/wp-json/wp/v2/posts?slug=${slug}&_embed`
  );
  const posts = await response.json();
  return posts[0];
}
The _embed parameter includes featured images and author data in a single request, a REST API optimization you should always use.
Fetching Posts with WPGraphQL
Create lib/graphql.js:
import { GraphQLClient } from 'graphql-request';

const endpoint = `${process.env.NEXT_PUBLIC_WP_API_URL}/graphql`;
export const client = new GraphQLClient(endpoint);

export async function getPosts() {
  const query = `
    query GetPosts {
      posts {
        nodes {
          id
          title
          slug
          excerpt
          date
          featuredImage {
            node {
              sourceUrl
              altText
            }
          }
        }
      }
    }
  `;

  const data = await client.request(query);
  return data.posts.nodes;
}
Notice how you specify exactly which fields you need, avoiding over-fetching.
Implementing Static Generation
In your app/blog/page.js:
import { getPosts } from '@/lib/graphql';

export default async function BlogPage() {
  const posts = await getPosts();

  return (
    <div>
      <h1>Blog</h1>
      {posts.map((post) => (
        <article key={post.id}>
          <h2>{post.title}</h2>
          <div dangerouslySetInnerHTML={{ __html: post.excerpt }} />
        </article>
      ))}
    </div>
  );
}
Dynamic Routing for Individual Posts
Create app/blog/[slug]/page.js:
import { getPostBySlug, getPosts } from '@/lib/graphql';

export async function generateStaticParams() {
  const posts = await getPosts();
  return posts.map((post) => ({
    slug: post.slug,
  }));
}

export default async function PostPage({ params }) {
  const post = await getPostBySlug(params.slug);

  return (
    <article>
      <h1>{post.title}</h1>
      <div dangerouslySetInnerHTML={{ __html: post.content }} />
    </article>
  );
}
The generateStaticParams function tells Next.js which dynamic routes to pre-render at build time.
Advanced Content Fetching and Update Strategies
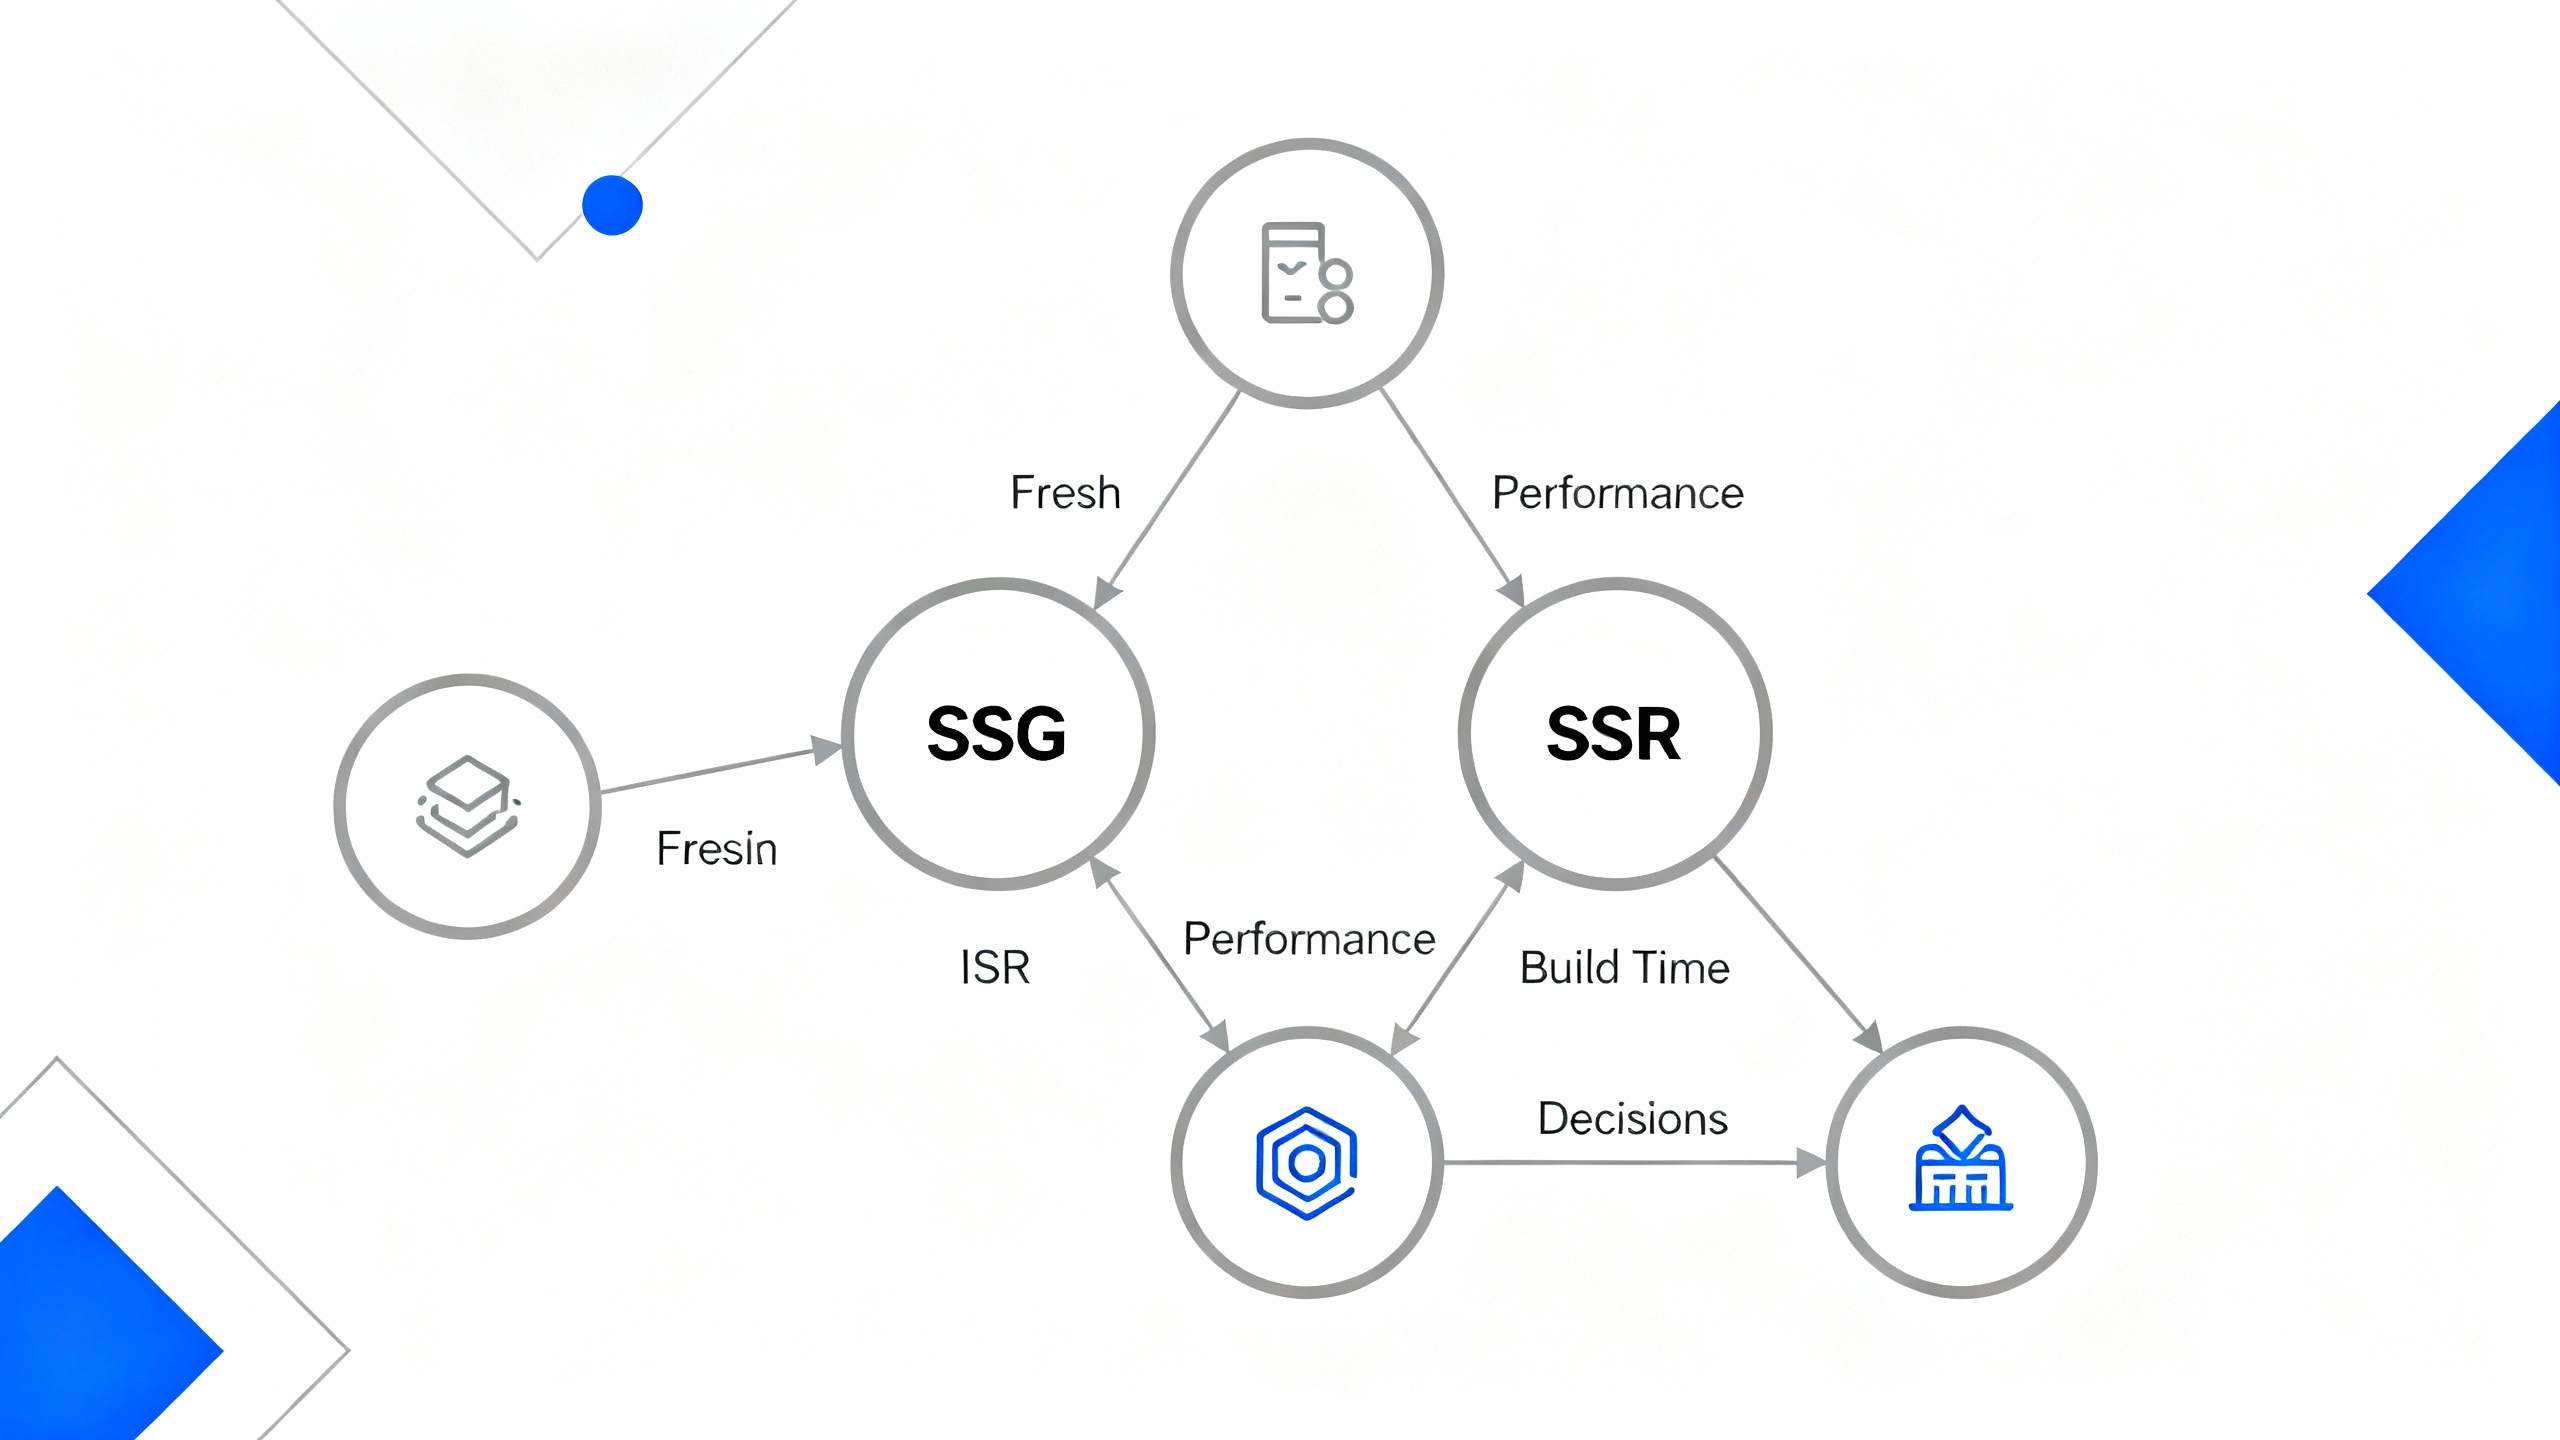
Content freshness requirements vary dramatically between projects. A company blog might tolerate hour-old content, while a news site needs immediate updates. Next.js offers multiple rendering strategies to match your needs.
Static Site Generation (SSG)
SSG pre-renders all pages at build time. Pages load instantly because they’re pure HTML, no server processing required. This approach delivers the best performance and lowest hosting costs.
Use when: Content changes infrequently (corporate sites, documentation, marketing pages). You’re willing to rebuild and redeploy when content updates.
Implementation: The examples above already use SSG. Data fetching happens during next build, creating static HTML files.
Incremental Static Regeneration (ISR)
ISR combines static generation with automatic updates. Pages regenerate in the background after a specified time interval, updating content without full rebuilds.
Add revalidation to your data fetching:
export const revalidate = 3600; // Revalidate every hour

export default async function BlogPage() {
  const posts = await getPosts();
  // Component code...
}
When a user visits after the revalidation period, they see the cached version while Next.js regenerates the page in the background. Subsequent visitors get the fresh content.
Use when: Content updates regularly but doesn’t require instant publishing. Most blogs, news sites, and content-heavy applications benefit from ISR’s balance of performance and freshness.
Server-Side Rendering (SSR)
SSR generates pages on each request, ensuring users always see the latest content. This comes at a performance cost, each page load requires server processing and WordPress API calls.
Force SSR by setting revalidation to 0:
export const revalidate = 0;
Use when: Content must be absolutely current (live dashboards, personalized content, real-time data). Accept slower page loads for guaranteed freshness.
Webhook-Triggered Revalidation
For instant content updates without constant rebuilds, implement on-demand revalidation triggered by WordPress webhooks. When editors publish content, WordPress notifies Next.js to regenerate specific pages.
Install WP Webhooks plugin in WordPress. Configure a webhook to fire on post publish:
POST https://your-nextjs-site.com/api/revalidate
Create app/api/revalidate/route.js:
import { revalidatePath } from 'next/cache';

export async function POST(request) {
  const secret = request.nextUrl.searchParams.get('secret');

  if (secret !== process.env.REVALIDATE_SECRET) {
    return Response.json({ message: 'Invalid token' }, { status: 401 });
  }

  const body = await request.json();
  const slug = body.post_slug;

  revalidatePath(`/blog/${slug}`);
  revalidatePath('/blog');

  return Response.json({ revalidated: true });
}
Configure the webhook URL as https://your-site.com/api/revalidate?secret=YOUR_SECRET_TOKEN. When WordPress publishes a post, this endpoint revalidates the specific post page and blog listing.
| Strategy | Freshness | Performance | Build Time | Hosting Cost |
|---|---|---|---|---|
| SSG | Stale until rebuild | Excellent | Long for large sites | Lowest |
| ISR | Configurable delay | Excellent | Fast | Low |
| SSR | Always current | Good | None | Higher |
| Webhooks + ISR | Instant | Excellent | Fast | Low |
Most production sites use ISR as the baseline with webhooks for instant publishing when needed.
Working with Custom Post Types and Advanced Custom Fields (ACF)
Custom post types extend WordPress beyond posts and pages, while ACF adds custom fields for structured content. Both integrate seamlessly with headless setups.
Registering Custom Post Types
Use Custom Post Type UI or register programmatically in your theme’s functions.php:
function create_portfolio_post_type() {
  register_post_type('portfolio',
    array(
      'labels' => array(
        'name' => __('Portfolio'),
        'singular_name' => __('Portfolio Item')
      ),
      'public' => true,
      'show_in_rest' => true, // Enable REST API
      'show_in_graphql' => true, // Enable WPGraphQL
      'graphql_single_name' => 'portfolioItem',
      'graphql_plural_name' => 'portfolioItems',
    )
  );
}
add_action('init', 'create_portfolio_post_type');
The show_in_rest and show_in_graphql parameters are crucial, without them, your custom post type remains hidden from headless queries.
Fetching Custom Post Types
With WPGraphQL, query custom post types using the GraphQL names you defined:
const query = `
  query GetPortfolio {
    portfolioItems {
      nodes {
        id
        title
        slug
        content
      }
    }
  }
`;
REST API exposes custom post types at /wp-json/wp/v2/portfolio.
Using Advanced Custom Fields
ACF provides a flexible way to add custom fields to any post type. Install WPGraphQL for Advanced Custom Fields to expose these fields automatically.
Create a field group in ACF with fields like “project_url,” “client_name,” and “completion_date.” Assign it to your portfolio post type.
Query ACF fields through WPGraphQL:
const query = `
  query GetPortfolioWithACF {
    portfolioItems {
      nodes {
        title
        slug
        portfolioFields {
          projectUrl
          clientName
          completionDate
        }
      }
    }
  }
`;
Field names convert from snake_case to camelCase in GraphQL. The field group name becomes the top-level field (portfolioFields in this example).
For REST API, ACF fields appear in the response automatically when using ACF 5.0+. Access them at post.acf.project_url.
Handling WordPress Media and Images in Next.js
WordPress’s media library stores images with multiple size variants. Properly integrating these with Next.js’s Image component delivers optimal performance.
Accessing WordPress Images
Featured images come through the REST API’s _embedded parameter:
const imageUrl = post._embedded['wp:featuredmedia'][0].source_url;
const altText = post._embedded['wp:featuredmedia'][0].alt_text;
With WPGraphQL, request image data directly:
featuredImage {
  node {
    sourceUrl
    altText
    mediaDetails {
      width
      height
    }
  }
}
Next.js Image Component Integration
Configure Next.js to allow images from your WordPress domain. In next.config.js:
module.exports = {
  images: {
    remotePatterns: [
      {
        protocol: 'https',
        hostname: 'your-wordpress-site.com',
      },
    ],
  },
};
Use the Image component for automatic optimization:
import Image from 'next/image';

<Image
  src={post.featuredImage.node.sourceUrl}
  alt={post.featuredImage.node.altText}
  width={800}
  height={600}
  priority={false}
/>
Next.js automatically optimizes, resizes, and serves images in modern formats like WebP, dramatically improving load times.
Performance Optimization Strategies
Consider implementing a CDN for WordPress media. Services like Cloudflare or BunnyCDN cache images globally, reducing load on your WordPress server and speeding up image delivery worldwide.
For high-traffic sites, upload images directly to cloud storage (AWS S3, Cloudinary) and store URLs in ACF fields. This approach separates media serving from WordPress entirely, improving scalability.
SEO Metadata and Structured Data Integration
Search engines need proper metadata to rank your headless site. WordPress SEO plugins work in headless mode with proper configuration.
Installing Yoast SEO or Rank Math
Both popular SEO plugins expose metadata through their APIs. Yoast SEO requires the Yoast SEO for WPGraphQL extension to expose metadata in GraphQL.
Query SEO data with WPGraphQL:
const query = `
  query GetPostWithSEO($slug: ID!) {
    post(id: $slug, idType: SLUG) {
      title
      content
      seo {
        title
        metaDesc
        opengraphTitle
        opengraphDescription
        opengraphImage {
          sourceUrl
        }
      }
    }
  }
`;
Implementing Metadata in Next.js
Next.js 13+ uses the metadata export for SEO:
export async function generateMetadata({ params }) {
  const post = await getPostBySlug(params.slug);

  return {
    title: post.seo.title,
    description: post.seo.metaDesc,
    openGraph: {
      title: post.seo.opengraphTitle,
      description: post.seo.opengraphDescription,
      images: [post.seo.opengraphImage.sourceUrl],
    },
  };
}
This approach ensures every page has proper title tags, meta descriptions, and Open Graph tags for social sharing.
Structured Data (JSON-LD)
Add structured data to help search engines understand your content type. For blog posts, implement Article schema:
const jsonLd = {
  '@context': 'https://schema.org',
  '@type': 'Article',
  headline: post.title,
  datePublished: post.date,
  author: {
    '@type': 'Person',
    name: post.author.name,
  },
  image: post.featuredImage.node.sourceUrl,
};

export default function PostPage({ post }) {
  return (
    <>
      <script
        type="application/ld+json"
        dangerouslySetInnerHTML={{ __html: JSON.stringify(jsonLd) }}
      />
      {/* Post content */}
    </>
  );
}
Troubleshooting Common Issues
Headless WordPress setups introduce new complexity. These solutions address the most frequent problems developers encounter.
CORS Errors During Development
Problem: Browser console shows “CORS policy blocked” errors when fetching from WordPress.
Solution: Add CORS headers to WordPress. Install the “WP REST API CORS” plugin or add to functions.php:
add_action('rest_api_init', function() {
  remove_filter('rest_pre_serve_request', 'rest_send_cors_headers');
  add_filter('rest_pre_serve_request', function($value) {
    header('Access-Control-Allow-Origin: *');
    header('Access-Control-Allow-Methods: GET, POST, OPTIONS');
    header('Access-Control-Allow-Credentials: true');
    return $value;
  });
}, 15);
404 Errors on WPGraphQL Endpoint
Problem: /graphql endpoint returns 404.
Solution: Flush WordPress permalinks. Go to Settings → Permalinks and click “Save Changes” without changing anything. This regenerates rewrite rules and registers the GraphQL endpoint.
Dynamic Routes Not Generating
Problem: Individual post pages return 404 in production but work in development.
Solution: Verify generateStaticParams returns correctly formatted data. Common issue, returning undefined slugs:
// Wrong - missing await
export function generateStaticParams() {
  const posts = getPosts(); // Missing await
  return posts.map(post => ({ slug: post.slug }));
}

// Correct
export async function generateStaticParams() {
  const posts = await getPosts();
  return posts.map(post => ({ slug: post.slug }));
}
Stale Content After Publishing
Problem: New posts don’t appear on the site even after waiting.
Solution: Check your revalidation strategy. If using ISR, verify the revalidation period hasn’t been set too high. If using webhooks, confirm they’re firing correctly by checking WP Webhooks logs and testing the revalidation endpoint directly.
Authentication Failures with Application Passwords
Problem: REST API requests requiring authentication fail with 401 errors.
Solution: Ensure you’re sending credentials in the Authorization header as Base64-encoded username:password:
const credentials = Buffer.from(
  `${username}:${applicationPassword}`
).toString('base64');

const response = await fetch(url, {
  headers: {
    'Authorization': `Basic ${credentials}`,
  },
});
Deployment and Production Considerations
Moving your headless setup to production requires attention to security, performance, and reliability.
Platform-Specific Deployment
Vercel offers the smoothest Next.js deployment experience. Connect your GitHub repository, add WordPress URL as an environment variable, and deploy. ISR and revalidation work out of the box.
Netlify requires additional configuration for ISR through Netlify’s On-Demand Builders. Standard SSG works perfectly.
Traditional hosting (DigitalOcean, AWS, your own VPS) requires Node.js server setup and PM2 or similar process managers for reliability.
For WordPress hosting, Kinsta and WP Engine offer excellent performance for headless setups with built-in caching and security. Their managed WordPress plans handle API traffic efficiently.
Security Best Practices
Disable WordPress frontend themes entirely using the Headless Mode plugin. This prevents duplicate content and closes potential security vulnerabilities in theme code.
Restrict API access to specific domains in production. Replace Access-Control-Allow-Origin: * with your actual Next.js domain:
header('Access-Control-Allow-Origin: https://your-nextjs-site.com');
Implement API authentication for sensitive content. Application Passwords provide secure token-based authentication without exposing your main WordPress password.
Use HTTPS everywhere. Both WordPress and Next.js sites must use SSL certificates to prevent man-in-the-middle attacks on API communication.
Performance Optimization
Enable Redis object caching in WordPress to speed up complex queries, especially with WPGraphQL. Many managed WordPress hosts offer built-in Redis support.
Configure Next.js bundle analysis to identify large dependencies:
npm install @next/bundle-analyzer
Implement edge caching on your Next.js deployment platform. Vercel’s Edge Network and Cloudflare Workers cache static pages globally, reducing server load and improving response times worldwide.
Monitor WordPress API response times. Tools like Query Monitor help identify slow database queries that impact Next.js data fetching speed.
Scaling Strategies
Separate concerns as traffic grows. Run WordPress on dedicated infrastructure optimized for database performance, while Next.js runs on serverless platforms that scale automatically.
Implement database replication for WordPress if API traffic becomes substantial. Read replicas handle GET requests while the primary database manages content updates.
Consider dedicated GraphQL caching layers like Apollo Engine for high-traffic WPGraphQL implementations. This reduces WordPress database load by caching query results.
Bonus: Migrating from Traditional WordPress Theme to Headless Architecture
Transitioning an existing WordPress site to headless architecture requires planning to avoid downtime and maintain SEO rankings.
Pre-Migration Preparation
Audit your current WordPress site. Document all custom post types, taxonomies, ACF fields, and plugin dependencies. Not all plugins work in headless mode, identify alternatives for frontend-dependent functionality.
Set up staging environments for both WordPress and Next.js. Test the entire headless implementation before touching production.
Export and back up your WordPress database. Migration involves significant changes to permalinks and potential data structure adjustments.
Content Synchronization Strategy
Keep your existing WordPress site running during development. Point your Next.js frontend to the live WordPress API for real-time content access.
Build the complete Next.js frontend feature-by-feature, testing against production WordPress data. This approach lets content editors continue working normally.
Once Next.js mirrors all WordPress functionality, switch DNS to point to Next.js. Your WordPress installation remains unchanged, only the frontend changes.
Minimizing SEO Impact
Maintain identical URL structures between old and new sites. If your WordPress posts used /blog/post-title/, ensure Next.js uses the same pattern.
Implement proper redirects for any URLs that must change. Use Next.js redirects in next.config.js:
async redirects() {
  return [
    {
      source: '/old-blog/:slug',
      destination: '/blog/:slug',
      permanent: true,
    },
  ];
}
Submit updated sitemaps to search engines immediately after launch. Generate sitemaps dynamically in Next.js using WordPress data or use a WordPress SEO plugin’s sitemap that remains accessible.
Frequently Asked Questions
Why use WordPress as a headless CMS with Next.js?
WordPress excels at content management with a familiar editor interface that non-technical users understand. Next.js delivers superior performance, modern React development, and better security by eliminating PHP execution on the frontend. This combination gives you enterprise-grade content management with cutting-edge frontend performance.
Should I use REST API or WPGraphQL?
Start with REST API for simple projects with basic post/page structures. Switch to WPGraphQL when you need custom post types, ACF fields, or complex content relationships. WPGraphQL’s precise data fetching reduces API calls and improves performance on complex sites, but REST API’s zero-setup simplicity works perfectly for straightforward blogs.
How do I enable real-time content updates without redeploying?
Implement Incremental Static Regeneration (ISR) with webhook-triggered revalidation. Set a reasonable revalidation period (1-24 hours) as your baseline, then use WordPress webhooks to trigger instant revalidation when editors publish important content. This approach balances performance with freshness without constant rebuilds.
How to handle dynamic routing in Next.js with WordPress data?
Use generateStaticParams to create static routes at build time based on WordPress data. Fetch all post slugs during build, then return them as an array of parameter objects. Next.js pre-renders these pages as static HTML while maintaining the flexibility of dynamic routing patterns.
What are common errors and how can I fix them?
CORS errors require adding proper headers to WordPress. 404s on GraphQL endpoints need permalink flushing. Missing dynamic routes indicate issues in generateStaticParams, verify you’re awaiting async functions. Stale content problems stem from misconfigured revalidation or failed webhooks, check your ISR settings and webhook logs.
Conclusion
Using WordPress as a headless CMS with Next.js combines the best of both worlds: proven content management with modern frontend architecture. Whether you choose REST API for simplicity or WPGraphQL for power, the headless approach delivers faster sites, better security, and happier developers.
Start with basic static generation, experiment with ISR for content freshness, then implement webhooks when you need instant publishing. The flexibility of this architecture grows with your needs.
For a complete working implementation with example code for both REST API and WPGraphQL approaches, check out reference implementations on GitHub and explore production examples at internal:/case-studies/headless-wordpress. Learn more about optimizing Next.js performance at internal:/guides/nextjs-optimization and advanced WordPress API customization at internal:/tutorials/wordpress-api-extensions.